Categories
Photography

Steps to follow to get the right snap everytime

I am a technologist. I try and identify patterns in anything I do and try to come up with a general abstraction that applies to the whole everytime. So it is with photography. Ever since I got a Canon Digital Rebel XTi, I began to wonder if there is a way to define the steps such that if followed we get the right snap every time.

[ad name=”blog-post-ad-wide”]

So here are the steps I have been following with full manual photography:

  1. Composition – Photography is an art. The most important aspect of a photo is the composition. We have seen how sometimes an image taken even with a point-and-shoot turns out to be better than the best of the DSLR’s. Composition is more important than you may think! So whenever you intend to click something, look at what you want to capture – move around to see what might be the best position from where to capture. Decide on horizontal or vertical orientation of the camera. What is the amount of noise (unwanted things in the image). Can it be reduced? Can the noise be made interesting? Think about what your image should look like before clicking – don’t leave it entirely upto the camera. Sometimes you may actually have to take a couple of snaps to see what it looks like, before you get the right shot but don’t that’s only for minor recorrections.
    The composition determines the focal length – distance from your camera to the subject that you want to capture. We then look at the exposure triangle.
Categories
Photography

Lalbagh Flower Show – August 2009

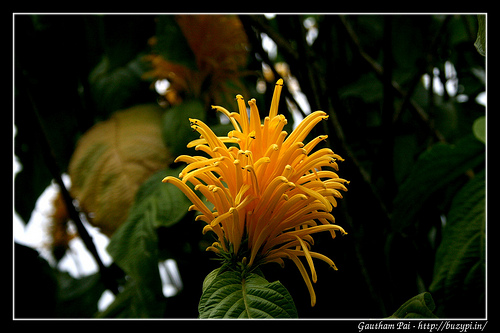
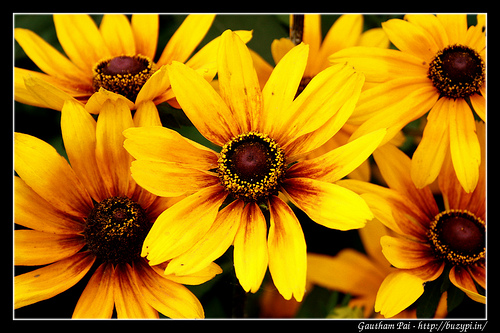
One of the reasons why I visited Lalbagh in June was to make sure I know what it takes to click flower macros using a SLR. While I did get a few good snaps, I was in for a very different treat when I visited the flower show last Saturday.

The last time I visited the Lalbagh flower show was in January 2007, which meant I hadn’t been there for 2.5 years!

Categories
Photography

Selective editing using image decomposition and the threshold tool using GIMP

Have you seen photos where parts of the image are enhanced more than the others? Have you come across situations where color level editing over the entire image darkens some portions of the image so much that they become invisible or when you apply warmth to an image, some parts look artificial? If so, what you need is selective editing and this post covers how to use GIMP to do selective editing.


[ad name=”blog-post-ad-wide”]

This post covers quite a few aspects of GIMP image editing:

  • Image decomposition
  • Quick mask
  • Alpha channel
  • Selective editing

Using this, we convert an image that looks like this:

to:

[ad name=”blog-post-ad-wide”]

Categories
Photography Technology

Warming up your images using GIMP

Cameras allow you to adjust the white balance setting in your images, but, I prefer to have an original version with me just in case I want to experiment with the original image.

Now let’s say you want to add warmth to your images. In cameras, you would set the white-balance setting to cloudy or overcast to get this effect.

Now how do we do the same in GIMP?

Original image:

Warmed up image:

Categories
Photography Technology

Color level editing with GIMP

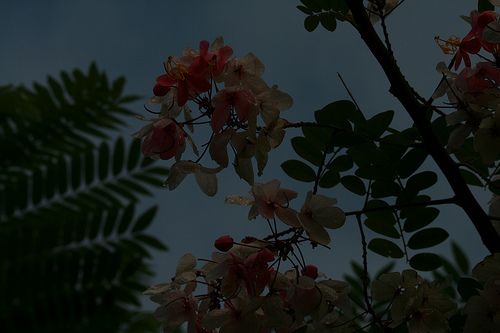
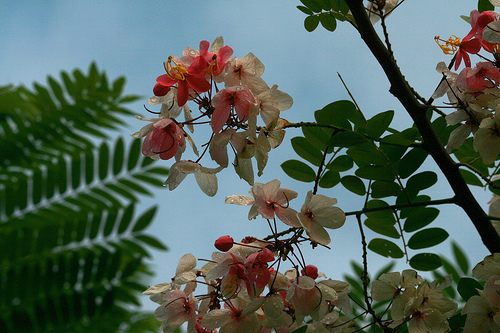
If you want to change that:

to that:

you need to understand something called Color Levels. The original image is overly underexposed, and the edited image has the brightness and shadows better than in the unedited image. This tutorial teaches you how to rescue such underexposed images and also how to optimize the shadows and highlights in your image.

The Color Level tool in GIMP allows you to adjust how bright or how dark you want your image to be. Many a times, we face this problem of over exposure of whole or portions of an image and we just can’t get it right with a camera (unless you are a pro)! So GIMP to the rescue.

Categories
Photography

Trips to Ranganathittu, Varthur lake and Sankey Tank

Ever since I realized the limitations of my Canon PowerShot A630, I started hunting for a new camera.

My initial plan was to go for a Canon Powershot SX10IS; the 20x optical zoom for a camera worth 17k (US price) was too hard to believe. But I got a good deal for a second hand Canon Digital Rebel XTi (EOS 400D). I had no second thoughts when I got a Sigma 70-300mm Macro Telephoto Zoom Lens and a Velbon tripod along with the camera which came with a Canon EF-S 18-55mm lens.

In order to test the camera before buying, I planned a trip to Ranganathittu Bird Sanctuary. Vinay, the guy who sold me the camera asked us to go early in the morning. So we left at around 4am from Bangalore and reached Ranganathittu around 7am.