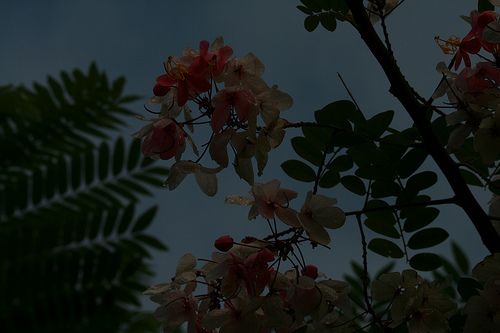
If you want to change that:

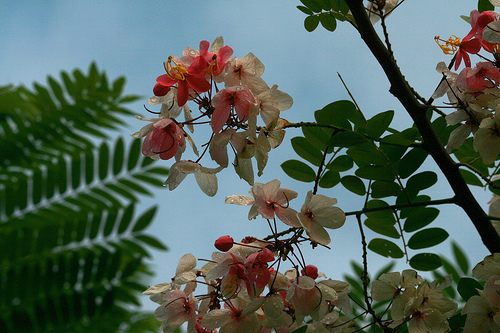
to that:

you need to understand something called Color Levels. The original image is overly underexposed, and the edited image has the brightness and shadows better than in the unedited image. This tutorial teaches you how to rescue such underexposed images and also how to optimize the shadows and highlights in your image.
The Color Level tool in GIMP allows you to adjust how bright or how dark you want your image to be. Many a times, we face this problem of over exposure of whole or portions of an image and we just can’t get it right with a camera (unless you are a pro)! So GIMP to the rescue.
So when you see that the image brightness or the shadows is not as you want them to be, follow these steps:
- Open the image in GIMP
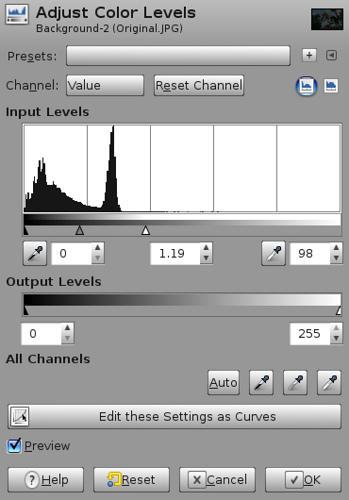
- Go to Colors -> Levels
- Adjust the Input and Output color levels by using the sliders. To begin with the black slider is at the left edge, the gray is in the middle, while the white slider is at the right edge of the image. Move the black slider to the left to increase the darkness (shadows). If you want to increase the highlights and brightness move the white slider to the right. Finally adjust the gray slider by moving it either to the left or right as preferred. You can do the same using the numeric text boxes and the droppers next to them.

The histogram shows the curve towards the left, indicating an underexposed image – shadows highlighted.

After moving the sliders
As you get comfortable adjusting the color levels of your images, it shouldn’t take you more than a few minutes to adjust and get the right color level setting for your image.
So what are the next steps?
- Once you start getting comfortable with color level setting, the next thing to look at is ‘Editing using curves‘, which allows more fine-grained control. However you need to be careful not to go overboard or your images will not look realistic or will have clear ‘edit’ errors.
- My other favorite tool is the Hue/Saturation setting tool – which is especially useful for macro photographs where white is the prominent color or to provide warmth to your images.
- Yet another useful tool that GIMP provides is the Color Balance tool, which allows you to enhance a specific color in your image.
For more information about Histograms and color levels, check this post.
So next time you share your photos with friends, make sure you have set the right color level in them!