Categories
Photography

Selective editing using image decomposition and the threshold tool using GIMP

Have you seen photos where parts of the image are enhanced more than the others? Have you come across situations where color level editing over the entire image darkens some portions of the image so much that they become invisible or when you apply warmth to an image, some parts look artificial? If so, what you need is selective editing and this post covers how to use GIMP to do selective editing.

[ad name=”blog-post-ad-wide”]

This post covers quite a few aspects of GIMP image editing:

  • Image decomposition
  • Quick mask
  • Alpha channel
  • Selective editing

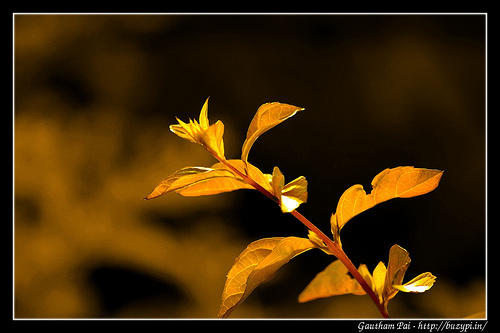
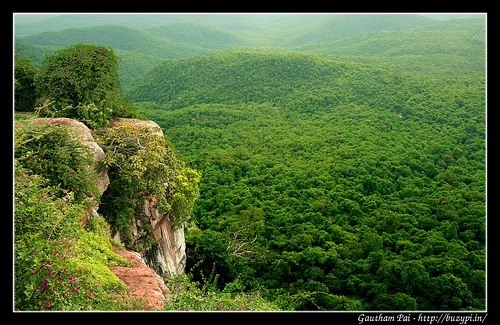
Using this, we convert an image that looks like this:

to:

[ad name=”blog-post-ad-wide”]
Categories
Photography Technology

Color level editing with GIMP

If you want to change that:

to that:

you need to understand something called Color Levels. The original image is overly underexposed, and the edited image has the brightness and shadows better than in the unedited image. This tutorial teaches you how to rescue such underexposed images and also how to optimize the shadows and highlights in your image.

The Color Level tool in GIMP allows you to adjust how bright or how dark you want your image to be. Many a times, we face this problem of over exposure of whole or portions of an image and we just can’t get it right with a camera (unless you are a pro)! So GIMP to the rescue.