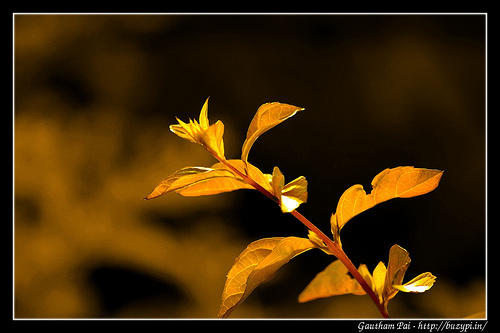
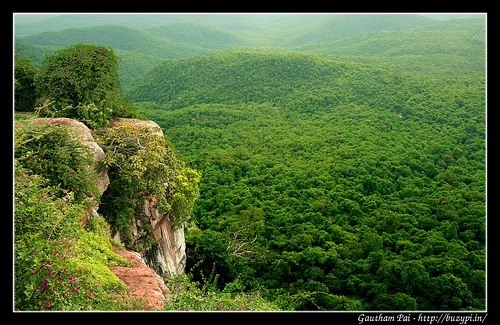
Have you seen photos where parts of the image are enhanced more than the others? Have you come across situations where color level editing over the entire image darkens some portions of the image so much that they become invisible or when you apply warmth to an image, some parts look artificial? If so, what you need is selective editing and this post covers how to use GIMP to do selective editing.
[ad name=”blog-post-ad-wide”]
This post covers quite a few aspects of GIMP image editing:
- Image decomposition
- Quick mask
- Alpha channel
- Selective editing

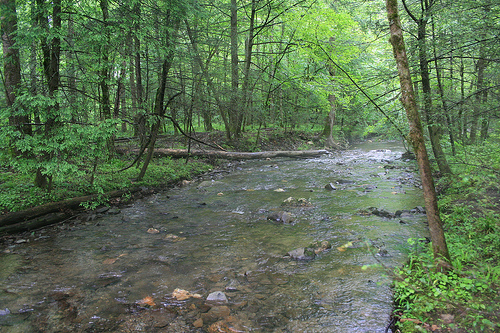
Using this, we convert an image that looks like this:
to:
[ad name=”blog-post-ad-wide”]
Ok, let’s begin.
Let us first quickly go over the process and then we can see the steps involved.
In the image we are taking as an example, we split the image into 2 layers, with one layer containing the trees and the other containing the creek and then selectively apply the various tools on the 2 layers.
The process involves first splitting the image into layers by identifying the key parameters in the image. Each image is different and you need to use different decomposition techniques to do so. Once the image is decomposed, we apply the threshold tool to divide the decomposed layer into black and white pixels, where one set of the pixels represent one layer and the other set of pixels, the other layer. We then apply this layer on the original image and select these pixels out into a different layer. Finally, we apply the various tools like the Color level tool, the Hue Saturation tool etc, to get the right image we went.
Most of the details on this technique are described in the GIMP Threshold Tool.
So here are the steps:
- Decompose the image
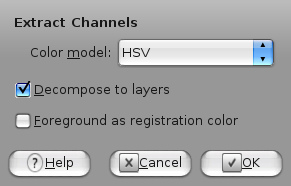
We first decompose the image using the HSV option. The Decompose option is available at Colors -> Components -> Decompose
- Apply the threshold tool on the ‘Saturation’ layer
Hide the hue and value layers by clicking on the ‘eye’ icon in the toolbox. Select the saturation layer. Now use the Threshold tool to divide the pixels in the layer into white and black pixels. I have tried to divide the image into 2 layers where one layer contains the trees, while the other contains the creek.

- Use the Quick Mask option to create a selection mask
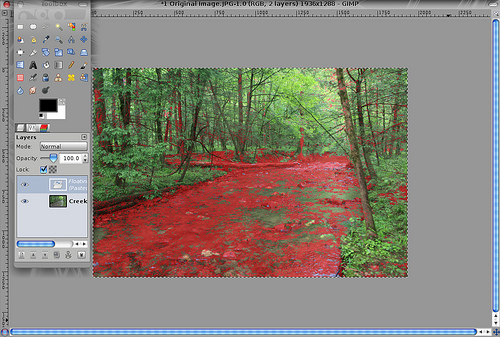
We will now learn how to use GIMP’s quick mask tool to create a selection mask.Now that we have split the layer into 2 sets of pixels, we select the pixels and apply it in the original image to select those pixels from the original image.
Copy the saturation layer where you applied the threshold tool.
Name the single layer in the original image as Creek. You can do this by right clicking the layer and editing the channel attributes.
Click on the Quick Mask button in the lower left corner of the window in the original image.
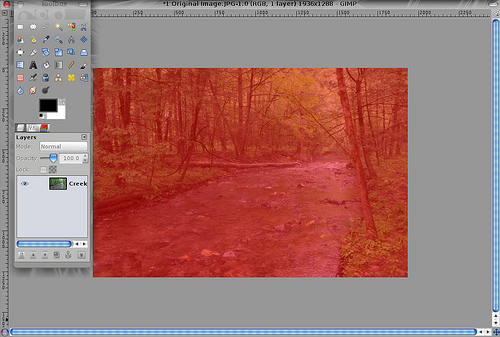
Paste the selection into the masked image.
Remove the quick mask.
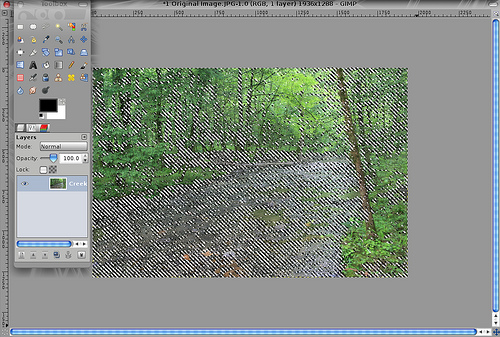
You will see the creek getting selected as shown in the screenshot. - Move the selection to a new layer
Now that we have the creek selected, we will move this to a different layer. In order to do this, press Ctrl+X to cut the selected pixels. Now, right click the layer in the Toolbox and click New Layer. Add a new layer of exactly the same size and call it Trees. Make sure this new layer is selected and press Ctrl+V to paste the selected pixels. You will see a floating selection in the layers tab. Right click this selection and click on Anchor Layer.

- Adding an alpha channel and removing the white pixels
This step is useful on its own. Whenever you want to add transparency to an image you add an alpha channel to the layer and make one of the colors (white in this case) transparent.
In order to add an alpha channel, right click the Creek layer and click ‘Add Alpha Channel’. Now use the ‘Select by Color Tool’ to select the white pixels and press Ctrl+X to remove these from the image.
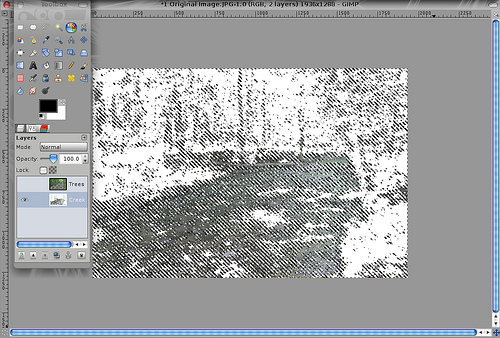
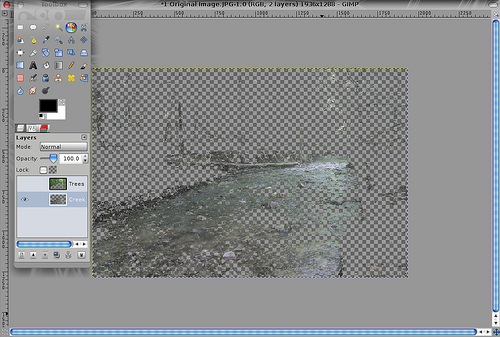
- Moving the wrongly mapped pixels
Ok, we now see that some pixels are in the wrong layer. The Trees layer, contains a few pixels which should actually be in the Creek layer. So let’s move them to the right layer.In order to do this, use the Free Select Tool, select the Trees layer and click points to cover the entire creek area as show in the screenshot.
You must start your selection from one point and end at the same point. Once this is done, press the Enter key.
Now cut these pixels from the Trees layer and paste them into the creek layer.
- Wow, that was long, but now starts the fun. You now have the images in the 2 different layers. So you can just apply the various tools to get the right image you desire.

