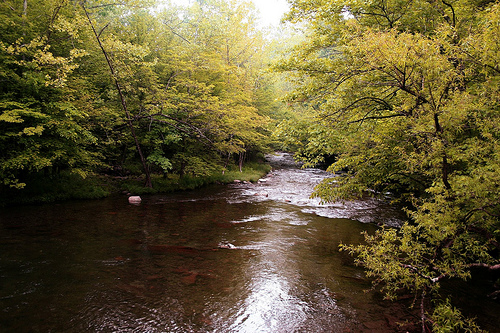
Cameras allow you to adjust the white balance setting in your images, but, I prefer to have an original version with me just in case I want to experiment with the original image.
Now let’s say you want to add warmth to your images. In cameras, you would set the white-balance setting to cloudy or overcast to get this effect.
Now how do we do the same in GIMP?
There are a few options:
- You can use the Filter Pack settings.
- You can use the White Balance settings you find in Colors -> Auto -> White Balance.
- Experiment with Hue/Lightness/Saturation (HLS) tool and the Color Balance tool.
The third option gives you a lot of control over the automatic settings and so I will be describing it here.
Here are the steps I follow:
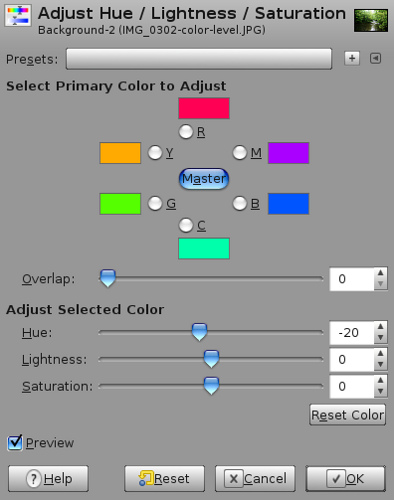
- Go to Colors -> Hue-Saturation…
- Make sure the button ‘Master’ is selected, and then adjust the Hue to a slightly lower value. Here I selected -25.
Original Hue-Saturation values

- You can also select specific colors and adjust their hues individually. For example, you can make magenta to appear more reddish, yellow to appear more greener etc.
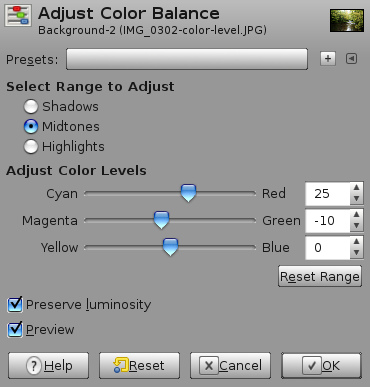
- The next thing to do is to adjust the color balance. Go to Colors -> Color Balance…
Adjusting the color balance:

- Increase the ‘Red’ in the color and decrease the ‘Green’.
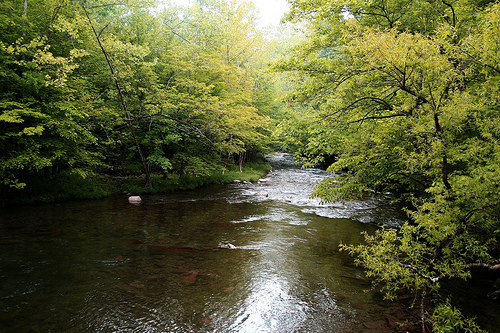
After adjusting the color balance:

There are no hard and fast rules. You can try various combinations of these along with Brightness-Contrast to get the right color you want.


